
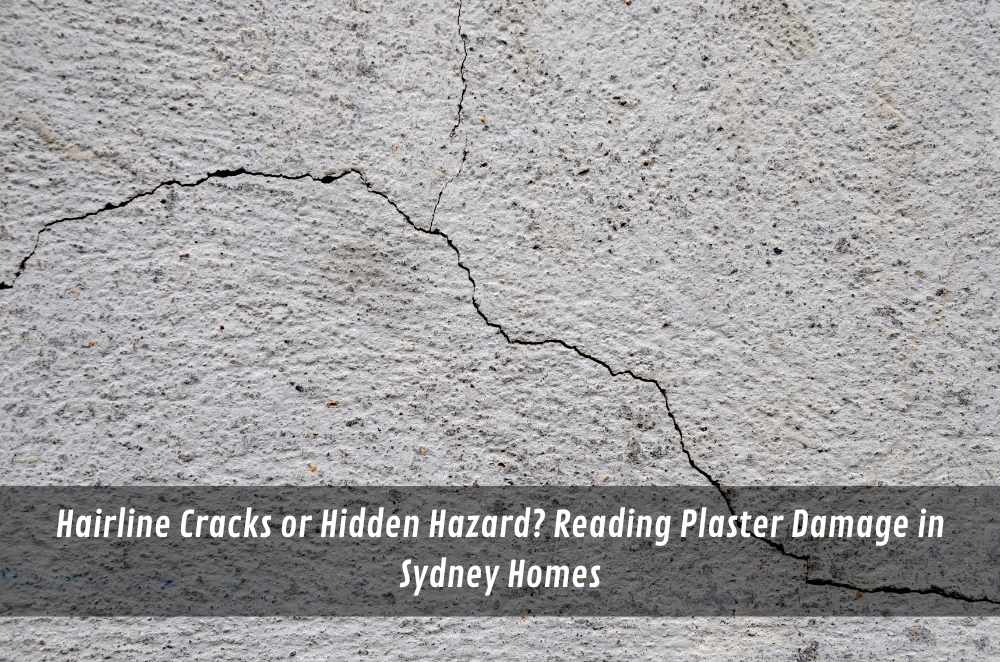
Plaster repairs have a funny way of looking “done” right up until the light hits them. A wall patch that seems smooth at night can show a shallow ridge in the morning. A ceiling repair can look fine for a month, then telegraph a joint line after the first humid spell. And recurring cracks can come back in the exact same spot, no matter how carefully the top coat is sanded.
In most cases, that’s not a finishing problem. It’s a support problem.
“Plaster support” isn’t one product. It’s the whole decision chain that makes a repair stable: what the surface is bonded to, how movement is managed, whether edges are reinforced, and whether the repair method suits the substrate (and the room’s lighting and paint sheen).
Below is a practical way to choose the right support for common Sydney property repairs—so the repair stays invisible after paint, not just on handover day.
Start by identifying what failed, not what you can see
Before thinking about mesh, compound, or corner bead, it helps to name the failure mode. The visible mark is usually the last symptom.
Impact damage vs “structural” movement
Impact damage (door handle dents, furniture knocks, holes) usually needs local reinforcement and feathering. The surrounding wall is typically stable.
Movement cracks (repeating hairlines, diagonal cracks near openings, cracks that widen seasonally) often need a support strategy that deals with movement: correct tape choice, edge stabilisation, and sometimes more than a skim coat.
Moisture-affected plaster is its own category
If a ceiling is stained, sagging, or feels soft, choosing support starts with the cause. Moisture can break down paper faces, loosen fasteners, and compromise adhesion—meaning a cosmetic patch may fail even if it looks neat initially. The Mi Painting plastering page calls out that water-stained ceilings often need replacing the affected area and re-finishing, along with identifying the moisture source.
Understand the substrate: plasterboard, solid plaster, masonry, or “mixed”
Sydney homes and units can have very different wall and ceiling build-ups—even within the same street. The support you choose should match what’s actually behind the paint.
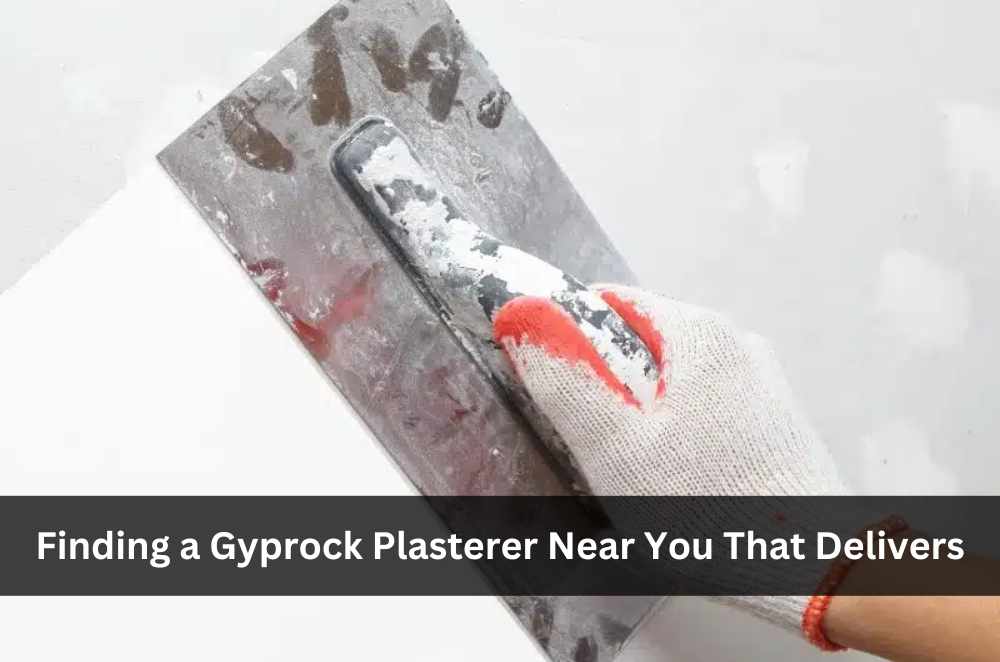
Plasterboard (gyprock) on studs
This is common in newer builds and many renovations. Key support questions:
Are the studs/noggings where they should be, or is the board flexing?
Are fasteners popping because the board is moving?
Are joints failing (tape letting go, visible lines in glancing light)?
If the board itself is loose or damaged, long-lasting support may mean re-fixing or re-sheeting rather than repeatedly filling. The Mi Painting page explicitly describes choosing between patch and blend, re-sheet, re-set, and skim depending on what the room and substrate need.
Solid plaster (older internal plaster)
Older solid-plaster walls can fail differently: edges can crumble, sections can de-bond, and repairs can “hollow” if the base isn’t sound. Support here often means removing loose material back to stable edges, then rebuilding with the right bonding approach rather than topping over weak plaster.
Masonry or concrete surfaces
Support decisions here often come down to adhesion and compatibility. The “right” support might be a bonding primer + appropriate plaster system, but surface condition (dusting, salts, previous coatings) drives whether the repair bonds long-term.
Mixed substrates
Mixed substrate areas—like a patched doorway, a boxed beam, or a wall with old repairs—are where flashing and texture mismatch happen. In these cases, support isn’t just “will it stick?” but “will it finish to one plane under harsh light?”
Choose a support approach that matches the situation
A useful way to think about support is: What needs to be made stable—edges, joints, the whole sheet, or the entire surface plane?
Small holes and dents: local backing + controlled feathering
For holes larger than a coin, support is often about creating backing so the compound isn’t spanning a void. Depending on the hole size and location, that can mean:
backing strips behind the opening
a patch piece that sits flush
a reinforcing tape layer to reduce edge cracking
The goal is to stop the repair from flexing independently from the wall around it.
Repeating cracks: stabilise first, then reinforce
A repeating crack is telling you something is moving. If you simply fill it, you’re asking the filler to act like a hinge.
Support choices here typically include:
removing loose material and treating the edges
using a suitable tape system (mesh or paper, depending on the crack and finish level)
building coats with enough width so that stress is distributed
On the Mi Painting page, “repeating crack” is paired with “stabilise + tape + set” to address movement and weak edges.
Visible joints under downlights: re-set and skim to the finish level you actually need
Sydney interiors with downlights and big windows are “glancing light” environments. These conditions reveal even minor ripples, especially with higher-sheen paints. The Mi Painting page notes that lighting and paint sheen can expose defects and that finish selection matters in these conditions.
If joints are mapping through, the most durable support isn’t a spot fill—it’s re-setting the joint (where needed) and skimming to re-level the plane so the surface behaves like one continuous sheet under light.
Sagging or failed ceiling sections: re-sheeting may be the support, not the compound
When the board has failed, support can’t be “paint-ready” until the substrate is physically stable. In practice, that can mean replacing the compromised section, improving or fixing, then finishing. The Mi Painting page includes ceiling repairs and notes cases where re-sheeting is the right call.
Factor in the finish: lighting and paint sheen change what “good enough” means
A repair that’s perfectly acceptable for matte paint in a low-light spare room may look rough in a hallway with semi-gloss trim and strong side light. Two variables matter more than people expect:
Glancing light
Downlights, large windows, and long corridors turn minor deviations into visible shadows. Planning support here often means widening the feather area, skimming rather than spot patching, and checking flatness under realistic light (not just a work lamp).
Paint sheen
Higher sheen highlights defects. That doesn’t mean you can’t use it; it means the surface needs a higher finish standard. If you’re repainting with low sheen or semi-gloss, plan the plaster support accordingly (often a larger re-levelled area, not a tight patch).
Don’t skip the “boring” support details that prevent callbacks
Even with the right method, small misses can undermine support.
Edge stability and corner protection
Corners chip because they take impact. Support here is about corner reinforcement and rebuilding crisp lines that don’t crumble with the next bump.
Dust control and sanding discipline
Over-sanding can dish a repair and create a halo that only appears after the first coat of paint. Controlled sanding is part of support because it preserves the plane you’re trying to restore.
Dry times and sequencing
In Sydney, humidity and ventilation affect drying. Rushing coats can trap moisture and lead to weak bonds or shrinkage. Scheduling the work around dry time is part of choosing “support” in the real world, not just in theory.
A simple checklist for choosing the right plaster support
Use this as a quick decision guide before committing to a repair approach:
What caused the damage? impact, movement, or moisture
What’s the substrate? plasterboard, solid plaster, masonry, mixed
Is anything loose or soft? if yes, stabilise/replace before finishing
What’s the lighting? downlights/windows = higher finish demands
What paint sheen is planned? higher sheen = higher finish standard
Is this a repeat repair? recurring issues usually need a different support method than last time
If you want a deeper look at how contractors assess substrate, choose between patch vs re-sheet vs skim, and plan finish level around lighting and paint sheen, see this guide on how to choose the right plaster support for local property repairs.
Key Takeaways
Most plaster “failures” are support failures: substrate stability, joints, edges, or movement management.
Treat moisture-affected areas differently—cosmetic repairs often won’t last if the base is compromised.
Match the support method to the defect: patch + backing, stabilise + tape, re-set + skim, or re-sheet where needed.
Lighting and paint sheen set the real finish standard; downlights and higher sheen are less forgiving.
A repair that lasts is usually the one that starts with diagnosis and substrate prep, not the final sanding pass.


Write a comment ...